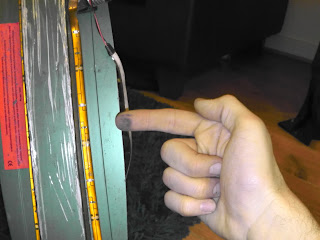
STEP 1 - prop your scooter upside-down somewhere SAFE and STURDY! (and possibly somewhere that you mum won't mind getting a little bit dirty)
(I chose to do prop mine against a glass-topped table over my partner's favourite rug.)
STEP 3 - measure up your lights. Be very careful to plan the exact route of the LED strip AND where you plan to stick your battery pack. When you cut the lights, make sure you cut along the dotted line, it's there for a reason!
STEP 5 - Stick It Down!
STEP 6 - Run your wires as sensibly as you can... every different kind of scooter will be different, so think about what will happen when you fold your scooter... spray from puddles, and whether the wires will tug when you 360 the handles. For my scooter, a Micro Rocket, this is where I put the wires / battery pack;
The battery pack is fixed to the scooter with double sided sticky pads... This means that it's reversible if I hate the lights (yeah right...) and also it absorbs the bumps when you're riding so the batteries don't get shaken about. IMPORTANT - make sure you can still open the battery pack once it's fixed to the scooter... batteries don't last forever!
I've got a convenient gap in the shaft of my scooter, and I think most scooters have something similar. This is a great place to run you wires and it's protected from outside forces.
STEP 7 - Put your batteries in. (yes I'm dragging it out now, but wait until you see the final photo ;o)
STEP 8 - TURN IT ON BEYHATCH!!!!!!
(In Daylight)
(At Night)
(Blue and Red LEDs at the same time.... AWESOME!)
Happy Pimping!
xxx


This will be so helpful when I get my own scooter! I had no idea that you were so technically proficient.
ReplyDeleteWow thanks for very nice information about set of LEDs in scooter. You have given very nice steps about set of LEDs. I absolutely try to set LED lights in my scooter.
ReplyDeletepetrol scooter